SpringBoot+Vue实现前后端分离
2021-04-23 21:29
标签:als def ext outer https only webp map username SpringBoot+Vue实现前后端分离 标签:als def ext outer https only webp map username 原文地址:https://www.cnblogs.com/dp06134816-login/p/13267817.htmlSpringBoot+Vue实现前后端分离
vue前台目录结构:
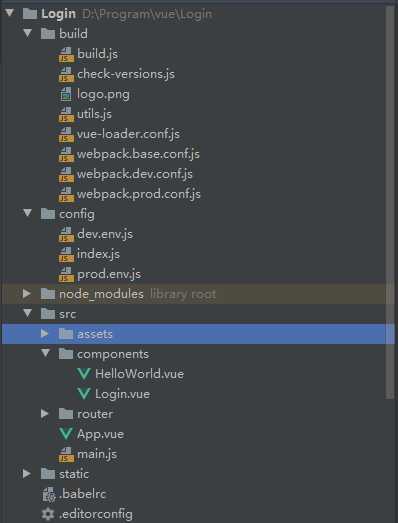
APP.vue
Long.vue
helloWord.vue
{{ msg }}
Essential Links
Ecosystem
在config/index.js中加入事件
 dev: {

    // Paths
    assetsSubDirectory: ‘static‘,
    assetsPublicPath: ‘/‘,
    proxyTable: {
      ‘/rest‘:{
        target:"http://localhost:8081",
        changeOrigin:true,
        pathRewrite: {
          ‘^/rest‘:‘/rest‘
        }
      }
    },
main.js
// The Vue build version to load with the `import` command
// (runtime-only or standalone) has been set in webpack.base.conf with an alias.
import Vue from ‘vue‘
import App from ‘./App‘
import router from ‘./router‘
import axios from ‘axios‘

import iView from ‘iview‘
import ‘iview/dist/styles/iview.css‘
Vue.use(iView)


Vue.prototype.$axios = axios
Vue.config.productionTip = false

/* eslint-disable no-new */
new Vue({
  el: ‘#app‘,
  router,
  components: { App },
  template: ‘‘
})
router/index.js
import Vue from ‘vue‘
import Router from ‘vue-router‘
import HelloWorld from ‘@/components/HelloWorld‘

Vue.use(Router)

export default new Router({
  routes: [
    {
      path: ‘/‘,
      name: ‘HelloWorld‘,
      component: HelloWorld
    }
  ]
})
后端采用SpringBoot
目录结构:
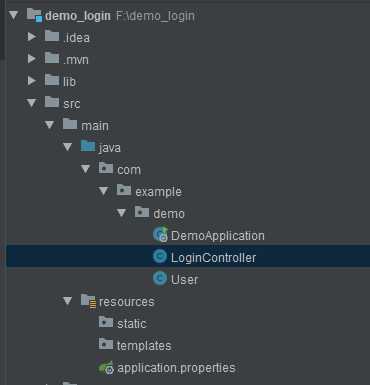
配置文件:
server.port=8081
接收前台传的数据,定义javaBean
package com.example.demo;
import javax.persistence.Entity;
/**
 * @Author 杜坡
 * @Date 2020/6/18 17:33
 * @Version 1.0
 */
public class User {
    //用户名
    private String userName;
    //密码
    private String password;
    public String getUserName() {
        return userName;
    }
    public void setUserName(String userName) {
        this.userName = userName;
    }
    public String getPassword() {
        return password;
    }
    public void setPassword(String password) {
        this.password = password;
    }

    @Override
    public String toString() {
        return "User{" +
                "userName=‘" + userName + ‘\‘‘ +
                ", password=‘" + password + ‘\‘‘ +
                ‘}‘;
    }
}
控制:在控制台打印前端传的值
package com.example.demo;

import org.springframework.web.bind.annotation.RequestBody;
import org.springframework.web.bind.annotation.RequestMapping;
import org.springframework.web.bind.annotation.RequestMethod;
import org.springframework.web.bind.annotation.RestController;

/**
 * @Author 杜坡
 * @Date 2020/6/18 17:33
 * @Version 1.0
 */
@RestController
@RequestMapping("/rest")
public class LoginController {
    @RequestMapping(value = "/login", method = RequestMethod.POST)
    public String Login(@RequestBody User user) {
        String userName=user.getUserName();
        String passWord=user.getPassword();
        System.out.println("用户名:"+userName+"\n"+"\t"+"密码为:"+passWord);
        return "用户名:"+userName+"\n"+"\t"+"密码为:"+passWord;
    }

}
启动VUE
成功后:访问一下地址即可

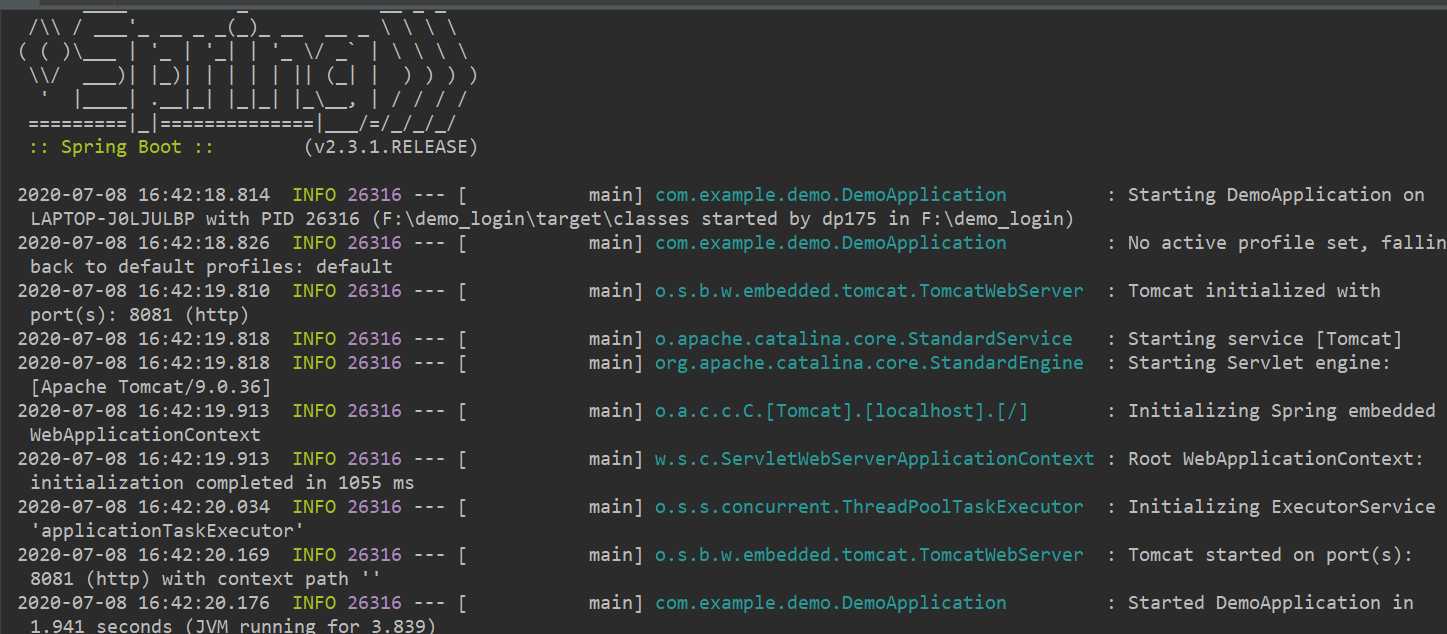
启动后端SpringBoot
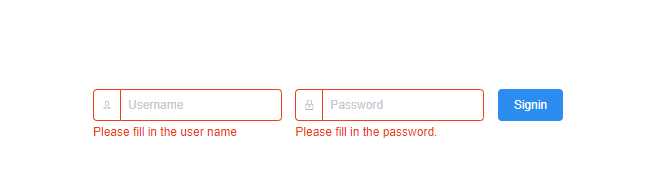
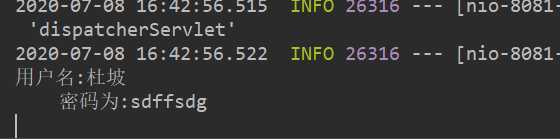
输入用户名和密码:

点击Singnin就会在后端控制台打印出来,这样就实现了前后端分离
上一篇:Java的三种初始化和内存分析